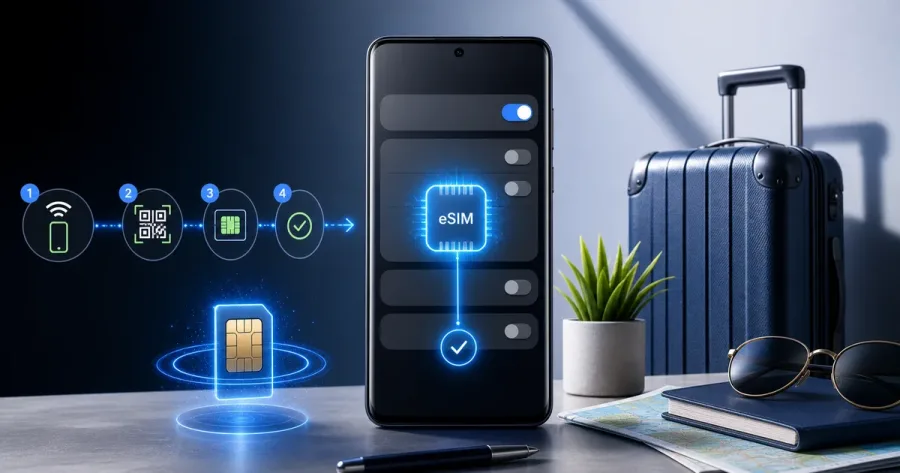
This article is part of our complete travel eSIM guide for Pakistani travellers.
Android eSIM setup varies slightly between brands, but the core flow — scan a QR code, confirm, turn on data roaming abroad — is the same everywhere. This guide covers Samsung, Google Pixel, and other major Android phones running Android 9 or later.
Step 1 — Confirm Your Phone Supports eSIM
Not every Android phone has eSIM hardware, and some carrier-specific or region-locked models disable it even when the chipset supports it. Check our compatibility tool before buying a plan — supported models generally include Samsung Galaxy S20 and later, Galaxy Z Fold/Flip series, Google Pixel 3 and later, and select Motorola, Honor and Oppo flagships.
Step 2 — Buy Your Plan and Get the QR Code
Choose a destination plan from simless.pk. Then use its WhatsApp button to confirm the offer, payment instructions and delivery timing. Keep the order conversation and installation information private.
Step 3 — Install the eSIM on Samsung
Go to Settings → Connections → SIM Manager → Add eSIM (on some One UI versions it's under Settings → Connections → SIM card manager). Tap Scan QR code from carrier, point your camera at the code, and confirm Add.
Step 3 (Alt) — Install the eSIM on Google Pixel
Go to Settings → Network & Internet → SIMs → Add SIM (or "Download a SIM instead?"), choose Next, then scan the QR code when prompted. Pixel phones sometimes offer a "Download eSIM" push notification automatically if you scan the code with the default camera app first.
Step 4 — Label and Set Your Data Line
Name the new line something clear, like "Travel Data". In your SIM settings, set the eSIM as the line used for Mobile Data, while keeping your Pakistani SIM set for Calls & SMS. This keeps your number reachable while the eSIM handles internet.
Step 5 — Turn On Data Roaming After You Land
Go to Settings → Connections (or Network & Internet) → Mobile networks → Data roaming, and enable it specifically for the eSIM line. This is the step travellers most often forget, and it's the most common cause of "no internet" right after landing.
Common Android-Specific Issues
- No "Add eSIM" option at all: the device or region variant doesn't support eSIM — check compatibility before purchasing a plan.
- QR scan not detected: use the carrier-specific "Scan QR code" option inside SIM settings rather than the general camera app, and ensure good lighting.
- Two SIMs but only one shows signal: check that both are toggled on in SIM Manager, and that the eSIM has data roaming enabled separately from the physical SIM.
- Profile downloaded but no signal abroad: confirm data roaming is enabled specifically for the eSIM line, not just mobile data overall.
Frequently Asked Questions
My Android phone doesn't have an 'Add eSIM' option — why?
Not every Android phone supports eSIM, even on recent models, and some carrier-locked or region-specific variants have the feature disabled by the manufacturer. Check our compatibility tool to confirm your exact model and region support it.
Do I need Wi-Fi to install the eSIM on Android?
Yes, you need an internet connection (Wi-Fi or mobile data) to download the eSIM profile itself. Once installed, activation abroad just needs data roaming turned on.
Can I use my physical SIM and eSIM at the same time on Android?
Yes, on dual-SIM-capable Android phones you can keep your Pakistani physical SIM active for calls and SMS while the eSIM handles mobile data, exactly like on iPhone.
What if the QR code scan fails on my Samsung?
Make sure the QR code is displayed clearly on a separate screen (laptop or printed) with good lighting, and that you're using the 'Scan QR code from carrier' option rather than the general camera app. If it keeps failing, use 'Enter details manually' with the activation code from your confirmation email.
Set up Android before you need it
Put the QR code on another screen or keep the manual activation details ready, connect to Wi-Fi and take your time with the labels shown on your own phone. Android menus vary by manufacturer, so a step that appears on a Pixel may have a different name on a Samsung, Xiaomi or another model.
Google’s official eSIM guidance for Pixel phones is the best reference for Pixel-specific menus. For another Android brand, use the manufacturer’s support material and the instructions delivered with the plan.
Source used for this section: Google Android eSIM guidance. Reviewed 12 August 2026. Information can change, so confirm the current plan card and ordering details with the WhatsApp team before paying.
Before purchasing: a quick accuracy check
This article is practical guidance, not a promise of network speed, availability or a particular operator. Plan prices, allowance, activation timing, partner networks and fair-use conditions can change. Check the selected offer with the WhatsApp team before paying, and keep the order conversation and installation instructions until the eSIM is working.
Install while connected to Wi-Fi. Your device needs eSIM support, an unlocked carrier status and room for another profile. On arrival, select the travel eSIM for mobile data and follow the activation instructions provided with that plan.
Our verification method explains how Simless reviews catalogue information and updates editorial pages. Use the device compatibility checker before buying.